How To Record a Snare Drum This is part two in the series of drum…

Recording Drums – The Kick Drum
How to Record a Kick Drum
The Microphone
 How to record a kick drum. This is the first in a series of drum recording techniques. This first article will cover some recording techniques for the kick drum.
The first thing you need to do is pick the right microphone. There are several mics available to choose from and it is fun to experiment with different ones if you have the time. My favorite mic for kick drum is the AKG-D112, it picks up the low end as well as the attack.
Microphone Placement
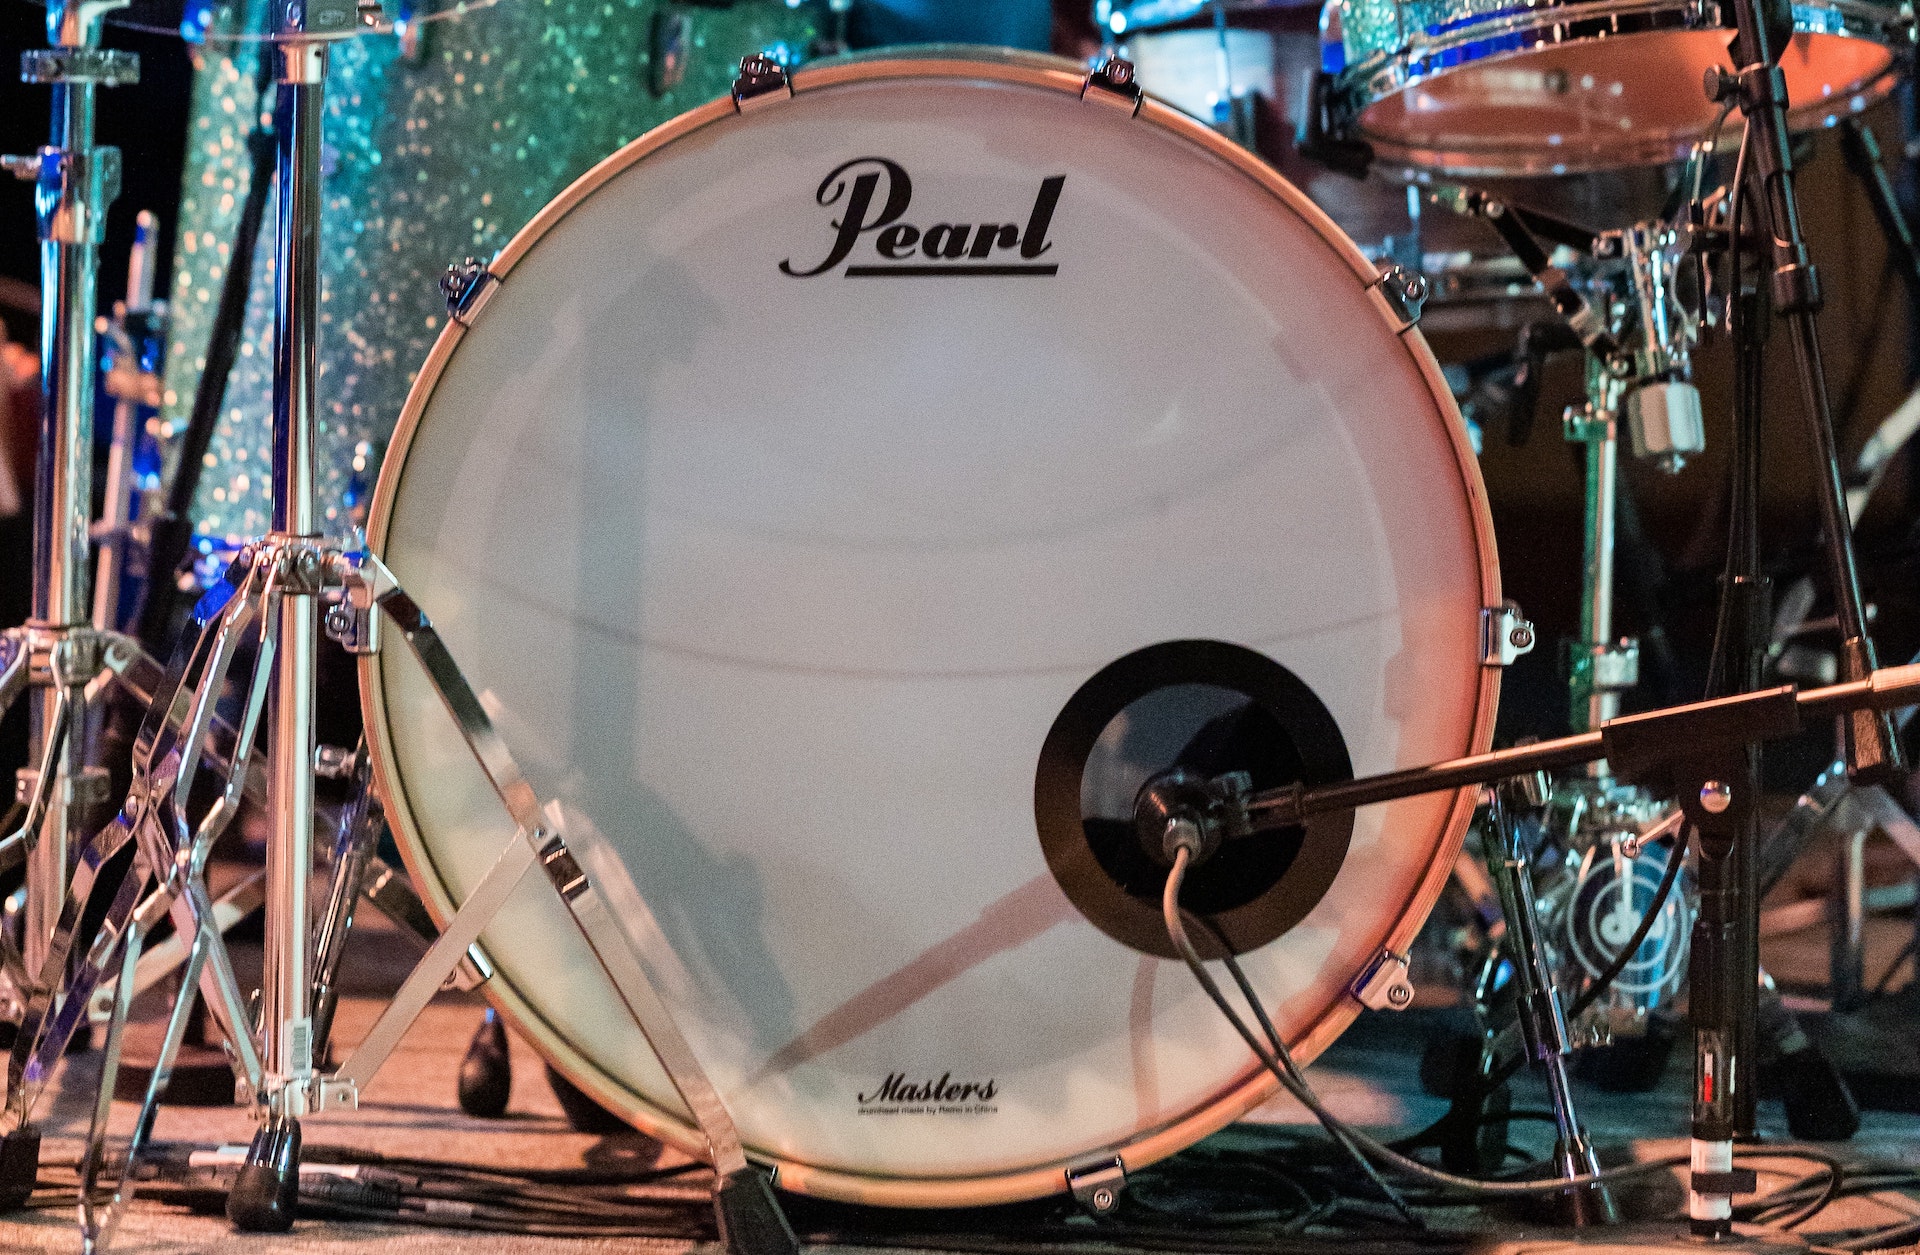
The placement of the microphone makes a lot of difference in the sound that you will get. If the drum has an access hole in the head I will place the mic inside and about 4-6 inches from the rear head (the one that gets kicked), a couple of inches off center and pointing at the middle of the head. This is great if you are doing rock, country or anything with a hard hitting kick that needs to sound punchy.
If your drum does not have a front access hole there are a couple of options. I would place a mic a couple of inches in front of the front head and another mic (I like the AKG-421) near the kick pedal pointing at the center to capture the attack, just hope the pedal doesn’t squeak too much. The mic in the front will not capture that attack which is important with aggressive drum sounds.
If you are recording a jazz kit they usually don’t have an access hole in front and the sound that you want is not punchy. You can use the one mic in front and get that classic jazz kick sound that is not punchy.
Experiment with mics and placement to get the sound that you want.
Recording Chain
The simplest recording path is mic > preamp > recording medium (DAW, tape, etc.). This path will get the sound recorded but you need to be careful of the input levels because you don’t have the dynamic control that a compressor gives you. The advantage to this path is that you have complete control over the sound after you record it.
I prefer to use this one mic>preamp>compressor>equalizer>recording medium. This path gives me full control of the sound before it is recorded. The down side to this is if you screw it up you can’t change it.
This depends a lot on what gear you have and how experienced you are. If you have no outboard gear like a compressor or EQ then the choice is obvious, the simple recording path is for you.
If you have a good compressor and equalizer and time to experiment use it and get the sound that you want.
My favorite piece of gear for this is the Tube-Tech MEC-1A.
Tube Tech makes some great gear, but it is not inexpensive. I would recommend this if you have a large budget and are working on high-end projects as this recording channel is versatile and sounds great.
A more affordable alternative is the dbx 376 – Tube Channel Strip. This piece of gear sounds good and works great for kick drum recording.
Fun Trick
Here is a fun trick to try. Get a speaker, a 10″ is a good size. Solder the microphone end of a microphone cable to the speaker connections and use it as a super low end microphone. I like to place this anywhere from 6″ to 3′ away to get a nice boom sound. Mix that in with the main kick mic and it gives you a great sound. And that’s how to record a kick drum.

